
We like to get a bit crafty from
time to time here at Nica HQ, there’s just something so rewarding about
creative projects and making things from scratch. Whether it’s a kitsch
hipflask for festival drinks or a glittery hanger to proudly display your most
prized possessions on, join Nica as we delve into the land of DIY.
Sequin Hangers
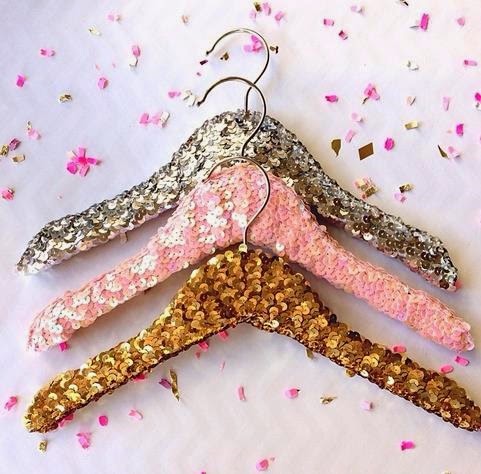
Give your wardrobe a new lease of
life this summer with these beautiful glittery hangers. If you’re strapped for
cash they also make a lovely handmade gift idea. Let’s get cracking.
Materials:
·
Craft glue
·
Scissors
·
Wooden hanger
·
1 inch thick sequin
elastic trim
Method:
Starting from the corner of the
hanger, apply the craft glue to the back of the elastic trim and begin to wrap
the trim around the hanger. Only apply glue to 3 inches of the trim at a time
to save making a mess during the wrap process.
Keep wrapping until the hanger is
completely covered and to finish secure the trim with extra glue. You could
also use a needle and thread to secure this but it’s entirely up to you. And
that’s it!
Design your Own Hipflask
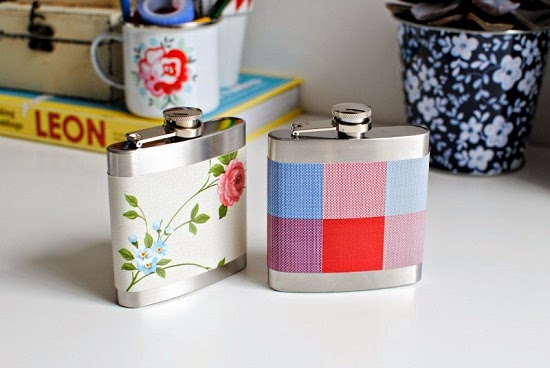
Hipflasks are a girl’s best friend
at festivals; they come in handy for on-the-go drinks and look glorious with a
floral or checked print design. As if we needed an excuse. This is how we
created ours:
Materials:
- Hipflask
- Oilcloth
fabric (Etsy)
- Multi-purpose
glue
- Scissors
Method:
Cut a strip of oilcloth to fit
around your flask, you’ll want the fabric to overlap slightly. Oilcloth is a
great material to use for hipflasks as it is easy to clean so any splashes can
be wiped away unlike cotton.
Once you’ve cut the oilcloth to
fit around the hipflask, simply use a specific glue which adheres to metal to
secure the oilcloth in place. It’s that simple!
Fabric Mouse Mat
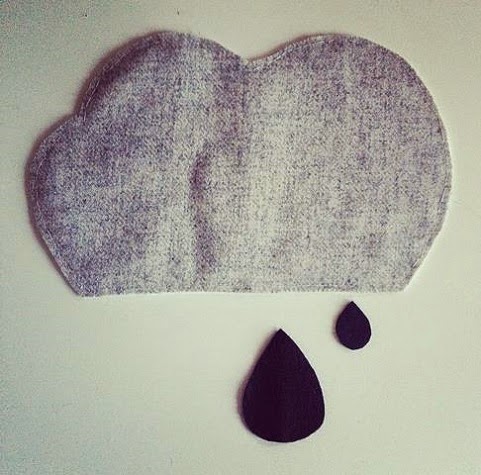
Liven up your office space with this super quick fabric
mouse mat tutorial. Pictured above is a cloud style,
but you could just as
easily stick to a rectangular shape and cover with your chosen fabric, the
choice is yours.
Materials:
- Fabric
- Iron-on
webbing
- A mouse mat
- A hot iron
Method:
Cut a
piece of webbing to slightly overlap your mouse mat. Next, cut your fabric a
little larger than the webbing and iron the webbing to your fabric. Leave to
cool for 30 seconds before peeling off the paper backing.
Iron your chosen fabric to the mouse mat and trim any excess material. Easy peasy.
Iron your chosen fabric to the mouse mat and trim any excess material. Easy peasy.
And there we have it, 3 summer
craft tutorials which can be completed in the time it takes to make a cup of
tea.
Are you a craft enthusiast? Share
your favourite tutorials with us by tweeting us @Nica_Handbags.

No comments:
Post a Comment